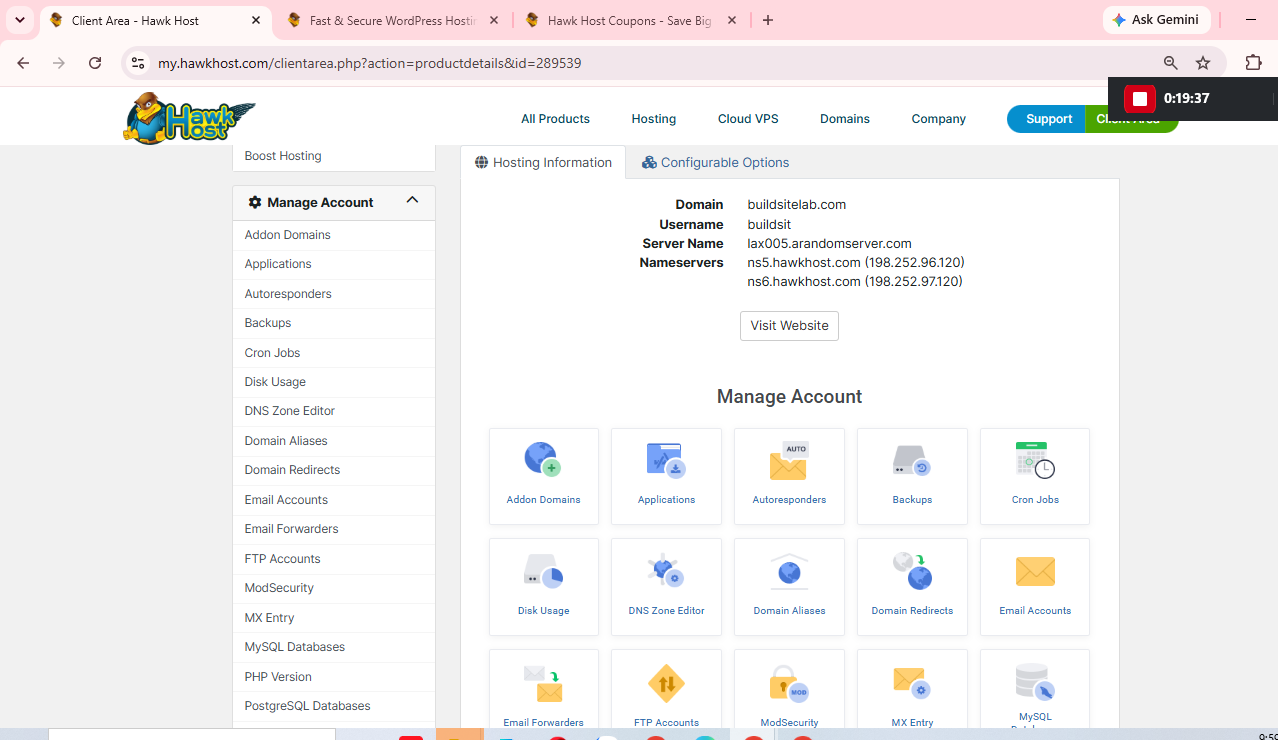
After purchasing HawkHost hosting, one of the first places you’ll use is the HawkHost Client Area. This is where you manage your hosting account, domains, billing, support requests, and access to tools such as cPanel.
If you’re new to web hosting, the dashboard can initially feel confusing. There are several menus, services, domain settings, invoices, support options, and shortcuts, and it’s not always obvious which one you should use first.
The good news is that you don’t need to understand every option immediately.
In this guide, I’ll explain the main sections of the HawkHost dashboard, what each one does, and which actions you should take after purchasing hosting. I’ll also show you where to find your hosting service, domain settings, billing information, support tickets, and cPanel.
By the end, you should know exactly where to go whenever you need to manage your HawkHost website.
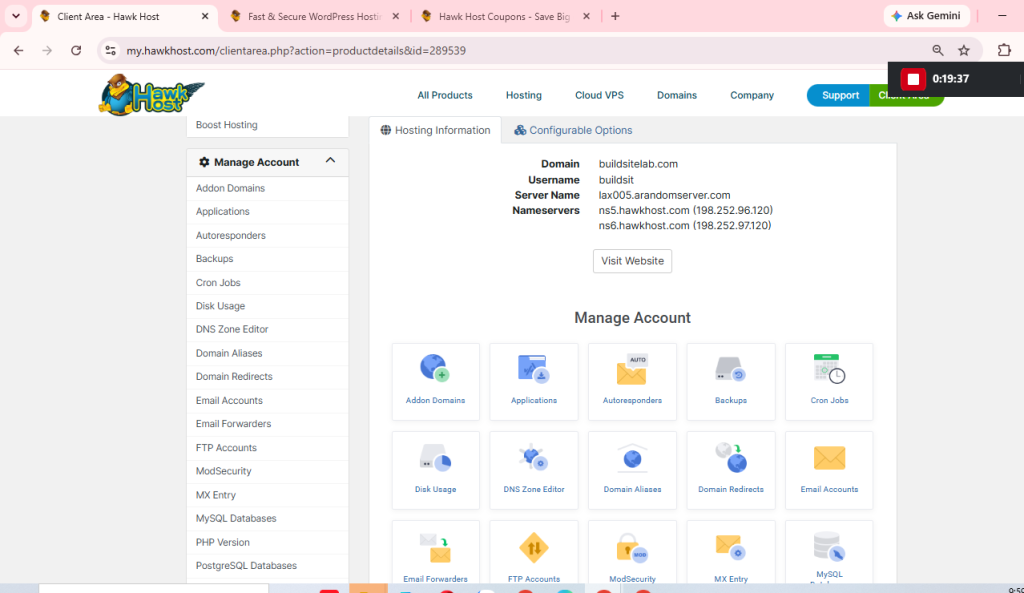
What Is the HawkHost Dashboard?
The HawkHost dashboard is essentially the central management area for your HawkHost account.
You can use it to manage different parts of your hosting account without logging into separate systems for every task.
Depending on your account, you can use the Client Area to:
- Manage your hosting services
- Manage registered domains
- Access billing and invoices
- Contact HawkHost support
- View support tickets
- Access hosting-related tools
- Manage account information
- Access cPanel for your website
One important distinction is that the Client Area and cPanel are not the same thing.
The Client Area is primarily used for managing your HawkHost account and services, while cPanel is where you’ll perform many of the actual website and server management tasks.
For example:
HawkHost Client Area
        ↓
   Manage account
        ↓
 ┌──────┼────────┐
 ↓      ↓        ↓
Hosting Domain Billing
        ↓
      cPanel
        ↓
 Website management
If you haven’t accessed your account yet, start with:
Overview of the HawkHost Dashboard
When you first log in, you’ll generally see several important areas.
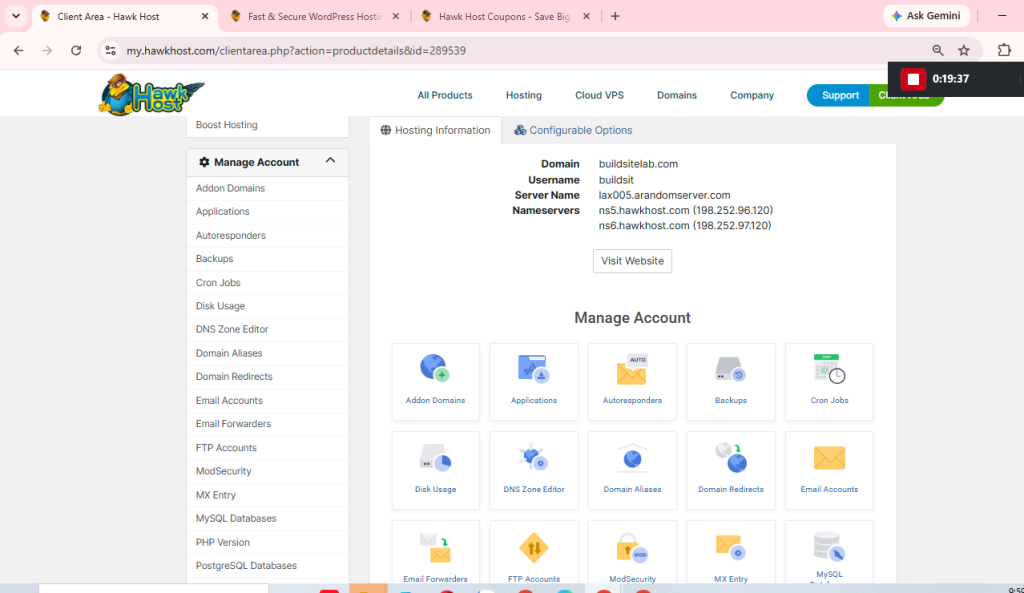
The exact appearance of the dashboard can change as HawkHost updates its Client Area, so don’t worry if your screen looks slightly different from screenshots in older tutorials.
The important thing is understanding what each section is designed to do.
Navigation Menu Explained
The navigation menu is your main way of moving around the HawkHost Client Area.
Let’s look at the most important sections.
Dashboard
The Dashboard is the main overview page.
It’s usually the first page you see after logging in.
Depending on your account, it may display information about:
- Your active hosting services
- Domains
- Recent activity
- Billing
- Support
- Available shortcuts
Think of it as the home page for your HawkHost account.
You don’t normally need to perform complicated configuration from this page. Instead, use it to quickly access the section you need.
Services
The Services section is where you manage your HawkHost hosting services.
If you’ve purchased shared hosting, your hosting package should appear here.
You may see information such as:
- Hosting package
- Domain associated with the service
- Service status
- Renewal information
- Hosting details
- cPanel access
This is one of the most important sections for a new customer.
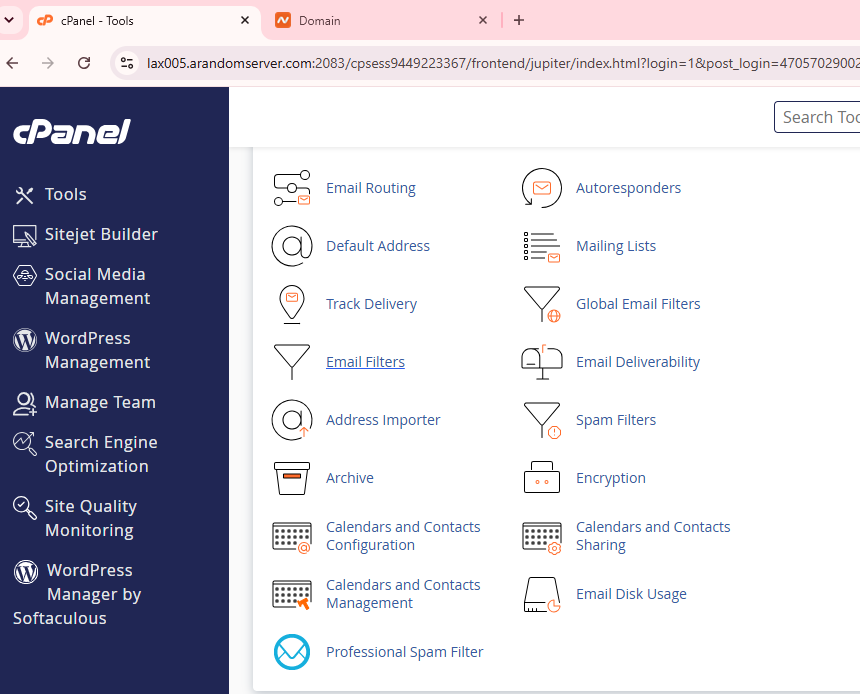
Where do I access cPanel?
In many cases, you can open your hosting service and find a button or shortcut to access cPanel.
If you’re specifically looking for cPanel, see:
👉 How to Access HawkHost cPanel
Domains
The Domains section is where you manage domain names associated with your HawkHost account.
Depending on how you purchased your domain, you may see options for:
- Viewing your domain
- Renewing the domain
- Managing domain settings
- Changing nameservers
- Accessing DNS-related settings
For example, if your domain was purchased through HawkHost, you can manage it from the domain management area.
If you purchased your domain somewhere else, such as Namecheap or GoDaddy, you will normally manage the domain’s registration there instead.
However, you can still use HawkHost hosting with a domain registered at another company.
For example:
Domain registration → Namecheap
Hosting             → HawkHost
In that situation, you would change the nameservers at Namecheap rather than inside HawkHost.
👉 How to Connect a Domain to HawkHost
👉 How to Change Nameservers in HawkHost
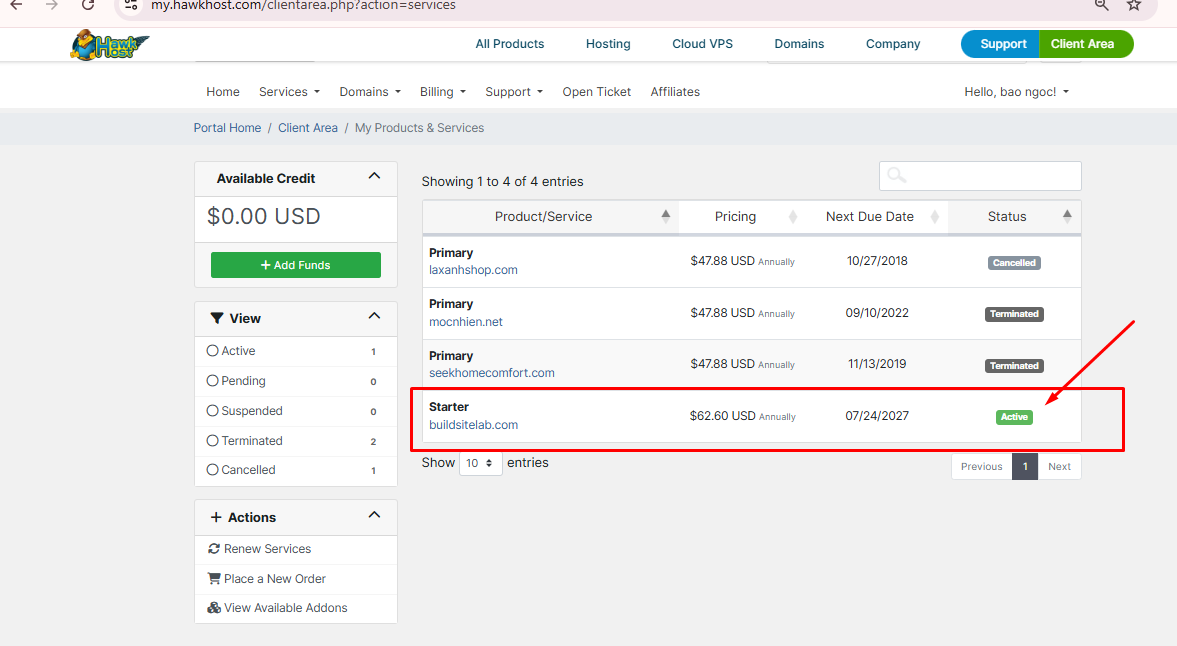
Billing
The Billing section is where you manage payments related to your HawkHost account.
This is particularly important because forgetting a renewal date can eventually result in a service interruption.
Depending on your account, you may find:
- Invoices
- Payment history
- Due dates
- Payment methods
- Renewal information
- Automatic renewal settings
Why should you check Billing?
When you purchase hosting, you don’t want to discover months later that your service is about to expire.
Make a habit of checking your renewal date, especially if you’re using a promotional introductory price.
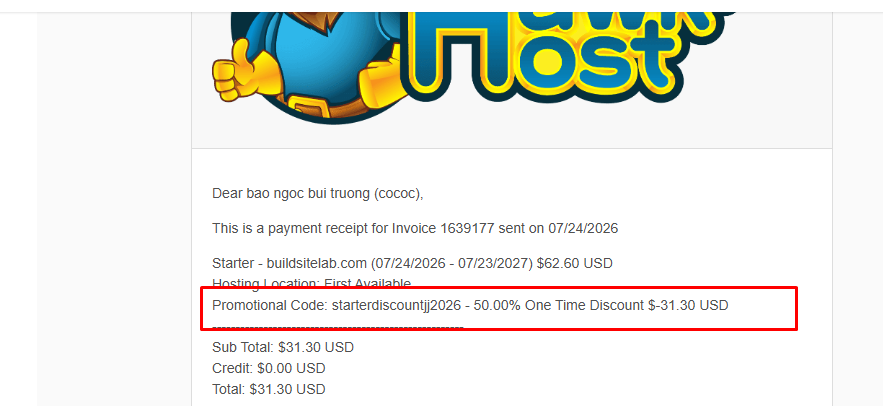
My Services
The My Services area gives you an overview of the hosting services associated with your account.
You may see different statuses depending on the state of your service.
Common examples include:
Active
Your hosting service is currently active.
This is the status you want to see when you’re running a website.
Suspended
The service has been suspended.
This can happen for different reasons, such as an overdue payment or an account-related issue.
If your hosting suddenly stops working and your service shows as suspended, check your billing information and contact HawkHost support if necessary.
Expired
The hosting service has reached its expiration date and is no longer active.
If you see an unexpected status, don’t immediately start changing DNS settings. First check your service status and billing information.
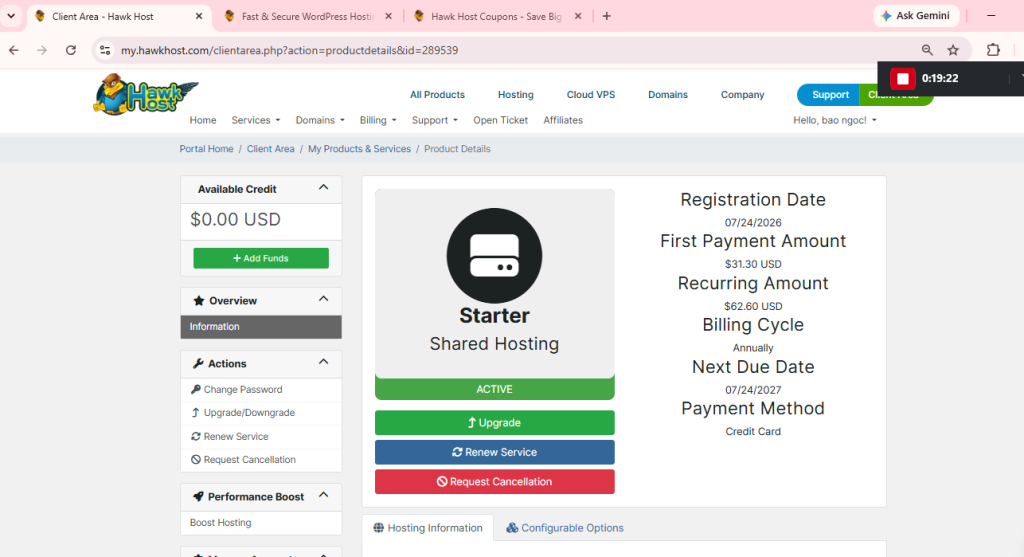
Domain Management
Domain management deserves special attention because it is often where beginners get confused.
When you open a domain, you may encounter options related to:
- Nameservers
- DNS
- Renewal
- Domain status
- Registration information
Renew
Use the renewal options when you need to extend your domain registration.
DNS
DNS controls how your domain connects to different services.
For example, DNS can be used for:
- Website hosting
- Verification records
- Other online services
Nameservers
Nameservers determine which DNS infrastructure is authoritative for your domain.
If you’re connecting a domain to HawkHost using HawkHost’s nameservers, this is where the relevant configuration begins.
👉 How to Change Nameservers in HawkHost
Important: Don’t change DNS records or nameservers unless you know what you’re changing. An incorrect DNS configuration can make your website or email stop working.
Billing Area
The billing area deserves its own quick overview because it contains information you’ll need throughout the life of your website.
Invoices
Invoices show charges associated with your HawkHost services.
If you’re trying to determine whether you’ve paid for a hosting renewal, this is one of the first places to check.
Due Date
The due date tells you when a payment is expected.
Keep an eye on this if your hosting account is configured for manual payment.
Payment Method
Your account may have payment information associated with it.
Make sure your payment method is valid if you rely on automatic renewal.
Auto Renewal
If automatic renewal is available for your service, check its status so you know whether your hosting or domain will renew automatically.
Support Center
One of the most useful features of the HawkHost Client Area is the support system.
If you encounter a problem that you can’t solve yourself, you can open a support ticket.
Open Ticket
Use Open Ticket when you need help from HawkHost support.
A good support ticket should include:
- Your domain
- What you’re trying to do
- What went wrong
- The exact error message
- What you’ve already tried
- Screenshots when appropriate
For example, don’t simply write:
My website doesn’t work.
Instead, provide something like:
My domain is pointing to my HawkHost account, but visiting the website returns a 404 error. I verified the nameservers and uploaded WordPress to public_html. Could you please check whether the domain is correctly configured on the server?
The more information you provide, the easier it is for support to understand the problem.
View Ticket
After opening a support ticket, you can return to the Support section to view the conversation and any responses.
Keep important support conversations because they can contain useful information about your hosting configuration.
Knowledge Base
Before opening a ticket, it’s also worth checking the HawkHost knowledge base.
You may find an existing guide for common problems involving:
- Hosting
- Domains
- DNS
- cPanel
- SSL
- WordPress
📷 Image suggestion: HawkHost Support Center.
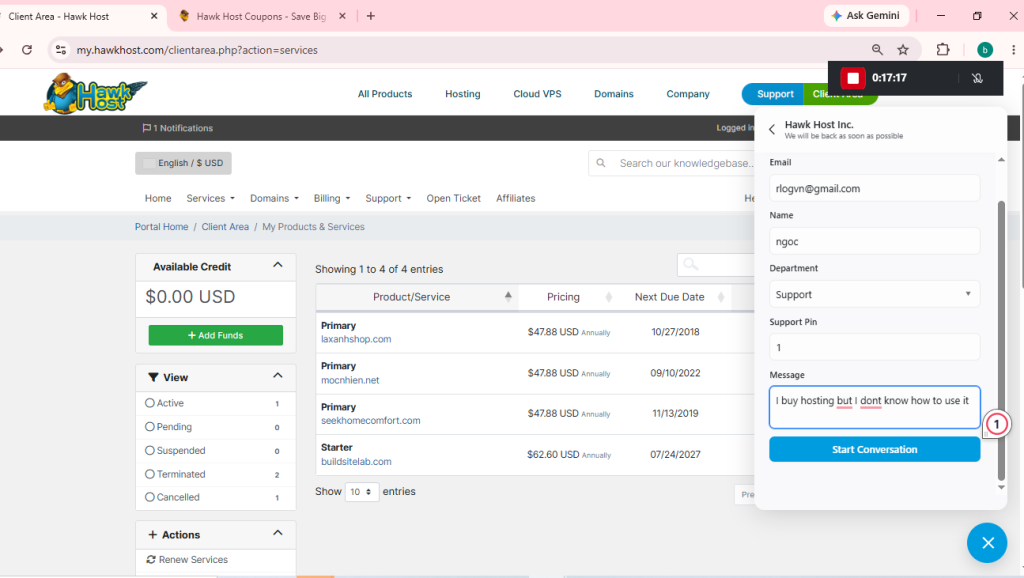
Quick Actions
The dashboard may also provide shortcuts to frequently used functions.
Depending on the current Client Area interface, useful actions can include:
- Login to cPanel
- Manage hosting
- Manage domains
- Renew services
- Order another hosting service
- Open a support ticket
- Manage account information
These shortcuts are useful because you don’t always need to navigate through several menus.
For example, if your only goal is to install WordPress, you don’t need to explore every section of the dashboard.
You can usually go:
HawkHost Dashboard
       ↓
Your Hosting Service
       ↓
cPanel
       ↓
WordPress
First 5 Things to Do After Buying HawkHost
This is probably the most useful section for beginners.
You don’t need to configure everything immediately. Start with these five steps.
1. Verify Your Email
Make sure the email associated with your HawkHost account is verified and that you can receive important hosting notifications.
Hosting companies may use this address for:
- Account information
- Billing reminders
- Support communication
- Service notifications
- Security-related messages
2. Connect Your Domain
If your domain hasn’t been connected yet, this should be one of your first tasks.
You have several possible setups.
Domain purchased at HawkHost
You can manage the domain through HawkHost.
Domain purchased elsewhere
For example:
Domain → Namecheap
Hosting → HawkHost
You can keep the domain at Namecheap and point it to HawkHost.
👉 How to Connect a Domain to HawkHost
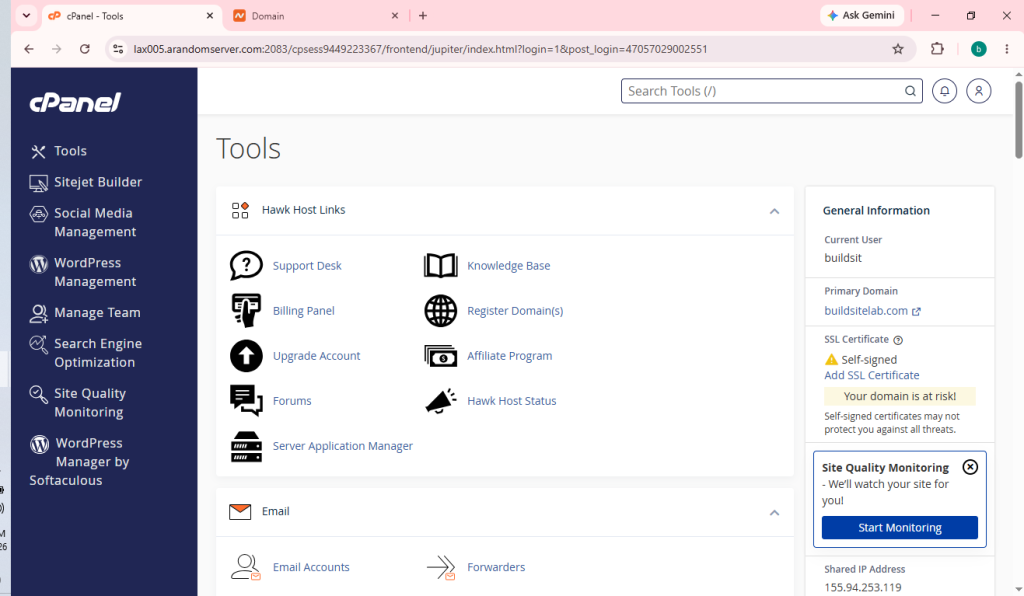
3. Access cPanel
Once your domain and hosting are ready, access your cPanel.
cPanel is where you’ll perform many of the technical tasks involved in running your website.
For example:
- File management
- Database management
- Email accounts
- SSL
- Backups
- Software installation
- Website configuration
👉 How to Access HawkHost cPanel
4. Install WordPress
If your goal is to create a WordPress website, the next major step is installing WordPress.
Once WordPress is installed, you can:
- Choose a theme
- Install necessary plugins
- Configure your website
- Create pages
- Publish your first articles
👉 How to Install WordPress on HawkHost
5. Enable SSL
Your website should use HTTPS.
Instead of:
http://yourdomain.comyou want:
https://yourdomain.comSSL encrypts the connection between your website and visitors’ browsers.
After your domain is correctly connected to your hosting account, check your SSL configuration in cPanel.
👉 How to Install Free SSL on HawkHost
What Should You Do After Logging In?
If you’re completely new to HawkHost, here’s the order I recommend:
Day 1
Login to HawkHost
       ↓
Verify account/email
       ↓
Check hosting service
       ↓
Connect domain
Day 2
Access cPanel
       ↓
Install SSL
       ↓
Install WordPress
Day 3
Configure WordPress
       ↓
Choose theme
       ↓
Install essential plugins
       ↓
Create important pages
After the website is ready
Google Search Console
       ↓
Google Analytics
       ↓
Submit Sitemap
       ↓
Publish content
This is much easier than trying to configure every option inside the HawkHost dashboard at once.
Common HawkHost Dashboard Problems
HawkHost Dashboard Is Not Loading
If the Client Area doesn’t load:
- Check your internet connection.
- Try another browser.
- Try an incognito/private window.
- Clear browser cache.
- Check whether the problem affects only you or the service itself.
- Contact HawkHost support if necessary.
I Don’t See My Hosting Service
If you purchased hosting but don’t see it in My Services, first check:
- Whether you’re logged into the correct HawkHost account.
- Whether the order was completed.
- Whether payment was successful.
- Whether the hosting account has been activated.
Don’t immediately purchase another hosting package just because you can’t see the service.
I Don’t See the cPanel Button
If you expect a cPanel shortcut but can’t find it:
- Open your hosting service.
- Check the service details.
- Look for a cPanel or login option.
- Confirm that the hosting service is active.
If the service is active but the option is missing, contact HawkHost support.
My Invoice Is Overdue
Open the Billing section and check your invoices.
If an invoice is overdue, check the available payment options and complete the payment if you want to keep the service active.
If you’ve already paid but the invoice still appears unpaid, contact support and provide the relevant payment information.
My Hosting Account Is Suspended
First check the service status and billing section.
If the account was suspended because of a billing issue, resolving the outstanding payment may restore the service.
If you don’t understand why the account was suspended, open a support ticket rather than changing your DNS settings randomly.
Frequently Asked Questions
Where is cPanel in HawkHost?
cPanel is normally accessed through your hosting service in the HawkHost Client Area. Open My Services, select your active hosting account, and look for the cPanel/login option.
👉 How to Access HawkHost cPanel
Where can I find my HawkHost invoices?
Go to the Billing section of your HawkHost Client Area. Your invoices and payment-related information should be available there.
How do I contact HawkHost support?
You can contact HawkHost through the support/ticket system in the Client Area. Open a new ticket and include as much information about your problem as possible.
How do I renew my HawkHost hosting?
Check your Billing and Services sections for your hosting renewal information. Make sure your payment method and renewal settings are correct.
Can I manage my domain from the HawkHost dashboard?
Yes, if the domain is registered through HawkHost. If your domain is registered with another registrar, such as Namecheap or GoDaddy, you’ll normally manage the domain registration there.
Is the HawkHost dashboard the same as cPanel?
No.
The HawkHost Client Area manages your HawkHost account, services, domains, billing, and support.
cPanel is the hosting control panel used for many website-management tasks.
Think of it this way:
HawkHost Client Area
        ↓
Account + Hosting + Domain + Billing + Support

cPanel
        ↓
Website + Files + Email + Databases + SSL
Conclusion
The HawkHost dashboard may look complicated when you first log in, but you don’t need to learn every section at once.
For a new website, focus on the essentials:
- Check your hosting service
- Connect your domain
- Access cPanel
- Install WordPress
- Enable SSL
- Set up Google Search Console and Analytics
- Start publishing your content
The dashboard becomes much easier to understand once you know what each section is responsible for.
The most important distinction to remember is that the HawkHost Client Area manages your account and services, while cPanel handles many of the actual website-management tasks.
If you’re ready to continue setting up your website, the next logical step is:
2 thoughts on “HawkHost Dashboard Explained: A Complete Beginner’s Guide”